Mechanical Design and Machine Design
Group assignment : click here
-
design a machine that includes
mechanism
actuation
automation
application
- build the mechanical parts and operate it manually
- document the group project and your individual contribution

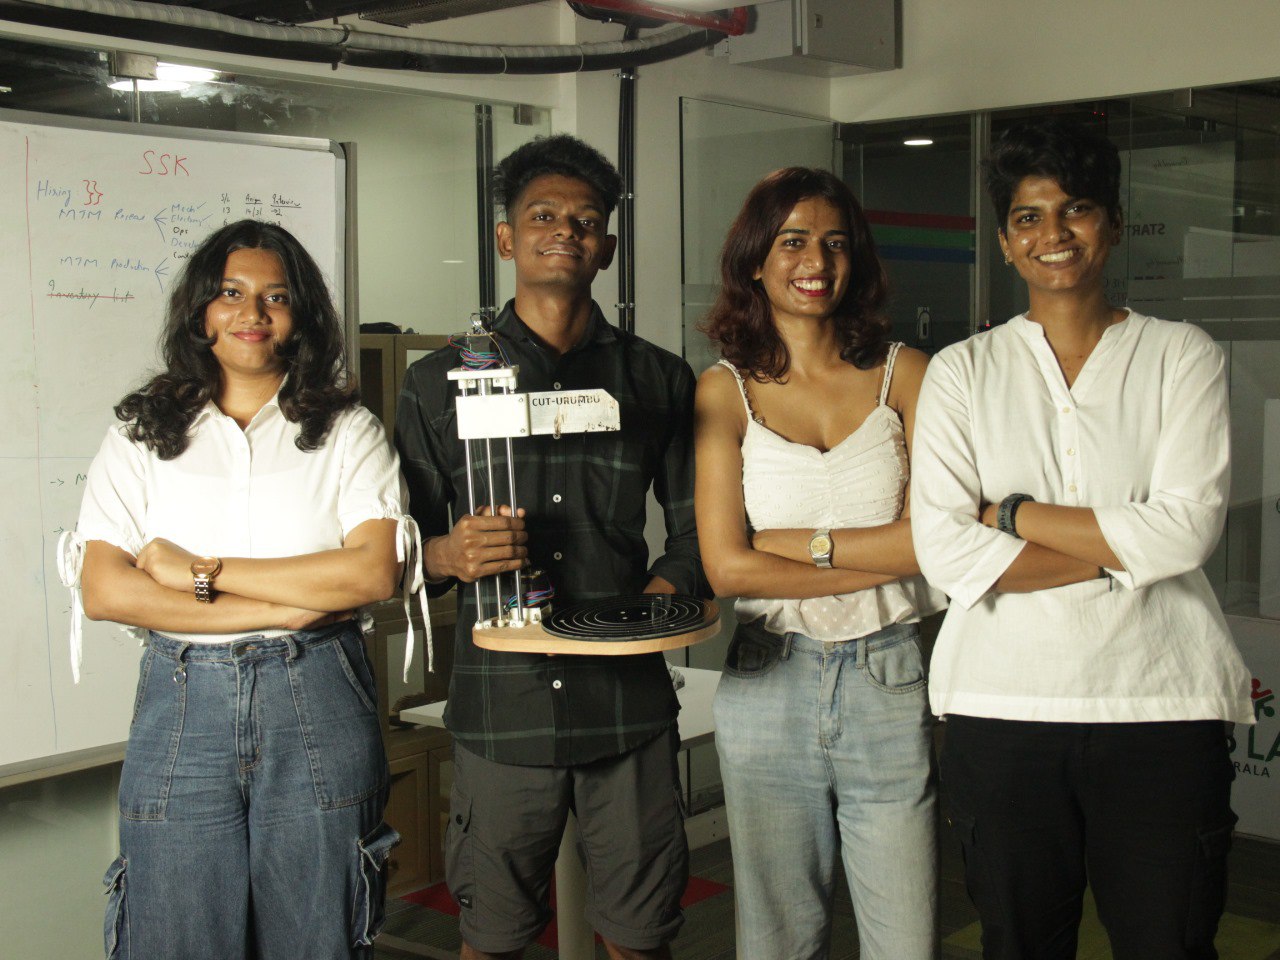
This week's task entails the construction of a machine, with the class divided into two groups of five members each, given the total class strength of ten for this academic year. Our journey began nearly a week prior as we commenced brainstorming sessions to determine the project's direction.
The idea was to create a device capable of dividing a cake into uniform portions based on user-defined inputs.
The concept emerged during a birthday celebration at the fablab, where we encountered challenges in achieving equal-sized cake slices through manual cutting methods. In response, we conceived the idea of developing a machine tailored to precisely cut cakes into uniform segments.
This week, I'll be documenting all the work I've done throughout the process.
Our team kicked off the week with planning sessions to organize our tasks and distribute them among team members. I took charge of the design aspect, specifically focusing on the turntable mechanism. Meanwhile, Laxmi handled the cutting mechanism. For detailed documentation on Laxmi's work, please refer to the separate documentation .
Our tasks were divided to efficiently complete the project. I was assigned responsibilities for both the design and electronic components of the project. This dual role required careful attention to detail and coordination between the physical and electronic aspects of the project.
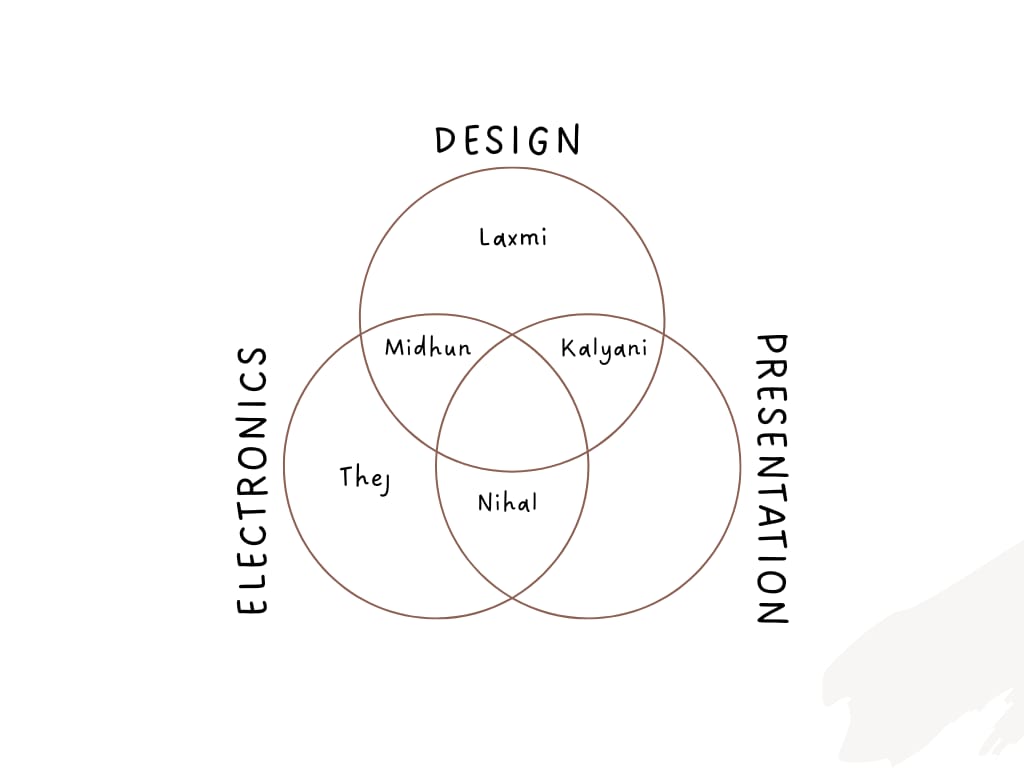
My responsibility was to conceptualize and engineer the turntable mechanism, while Laxmi focused on devising the cutting mechanism. This division of labor ensured efficiency and attention to detail in both critical components of our project.
The sole parameter to consider is the bed size.
We have planned to set the bed size at 250 mm.
This is my initial design that I have created.
After designing, I reviewed my design with my instructor, Jogin, who suggested redesigning it because the table's height was somewhat bulky due to the stepper motor being placed inside the turntable.
Jogin recommended relocating the stepper motor outside to reduce the height.
Therefore, I have to redesign the turn-table from scratch.
This is the second design of the turntable that I have created.
Once again, I reviewed the design with Jogin, but unfortunately, he wasn't satisfied with it. He suggested trying again, and this time, he assisted me with his ideas and helped with the design.
This is how the design came out
This is the final design that we settled on, and I was also pleased with the outcome. After three iterations, the design turned out quite well.
This is how the internal gears works
Then, I proceeded to assemble the cutting mechanism that Laxmi designed.
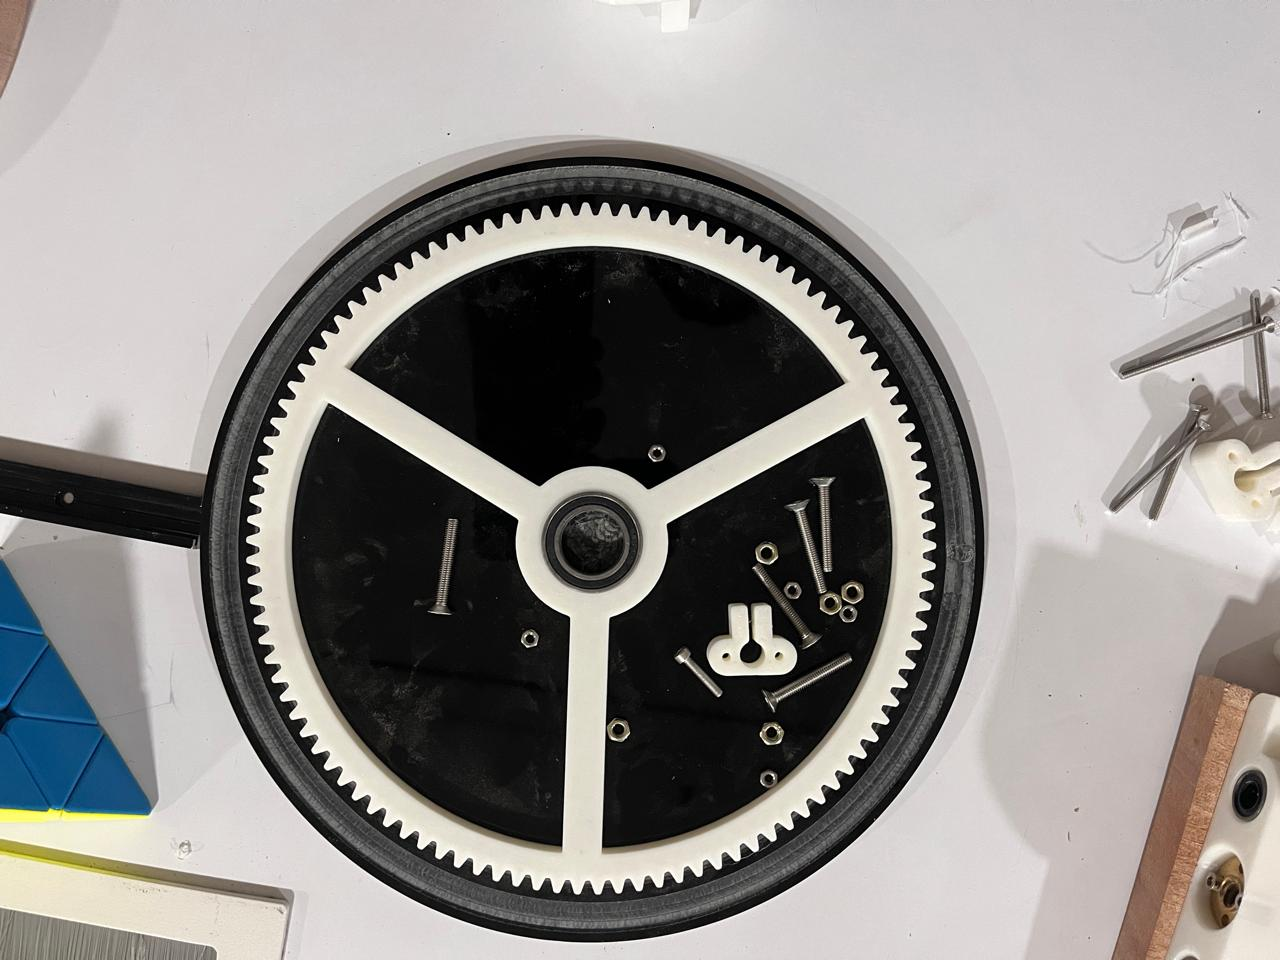
This is the appearance of the final design.
the gear ratio used in the design is 1:7
Bearing used :- 6804zz (for bigger gear) , 608zz (smaller gears)
motor used:- nema-17
Mechanical:
- Frame Size: 1.7 x 1.7 inches (43.2 x 43.2 mm)
- Shaft Diameter: 5 mm
- Mounting Holes: Four M3 threaded holes, 31 mm apart
- Shaft Length: ~24 mm
Electrical:
- Step Angle: 1.8° (200 steps/revolution) or 0.9° (400 steps/revolution)
- Voltage: 2-5V (varies)
- Current: 1-2.5A per phase
- Holding Torque: 26-78 oz-in (18-55 N·cm)
- Resistance: 1-5 ohms per phase
- Inductance: 1-4 mH per phase
After completing the design phase, we proceeded to the manufacturing stage.
Here is a short clip of the milling process
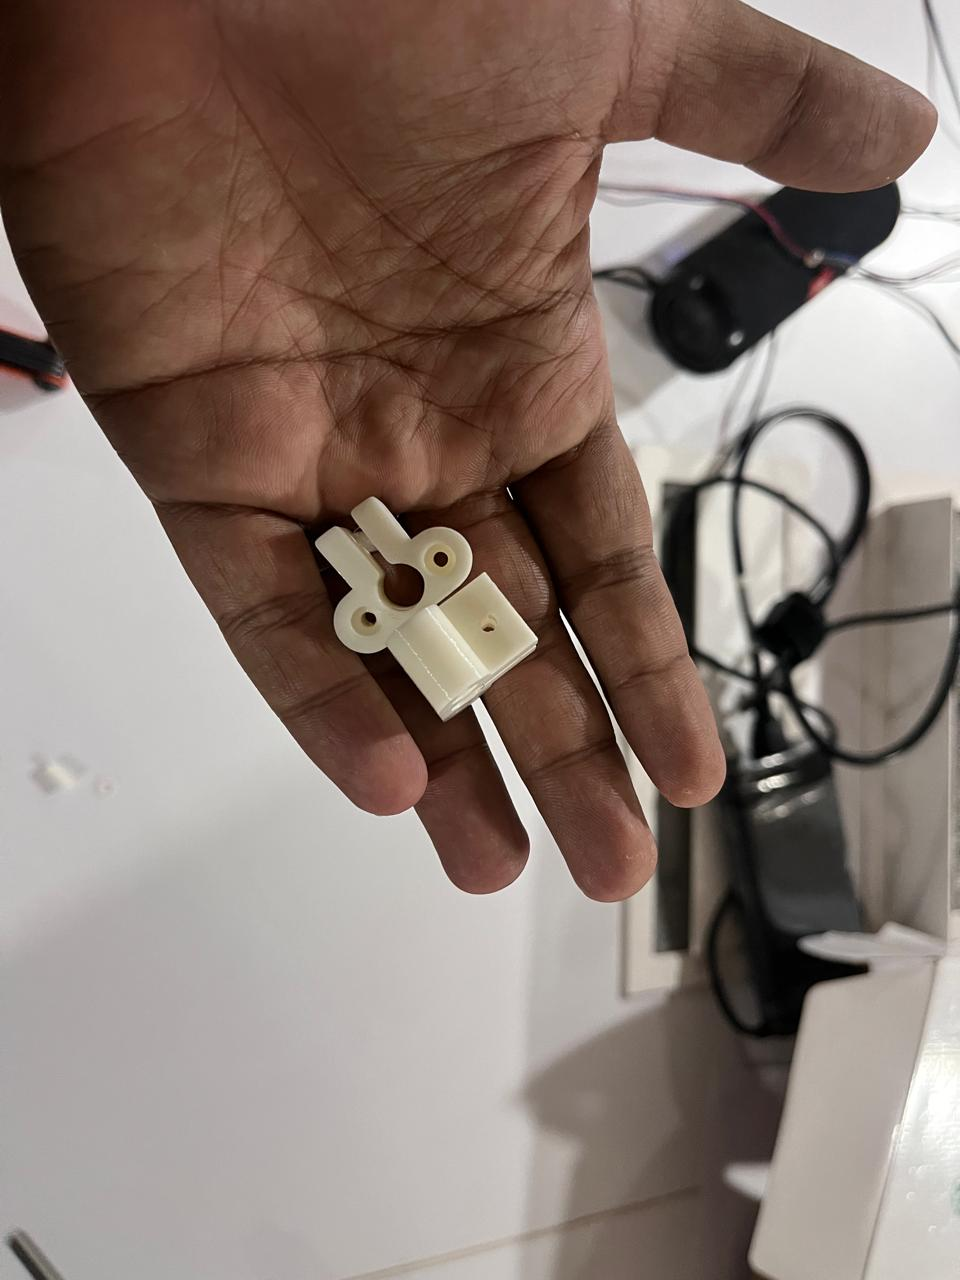
we have 3d printed the parts laser cut the base plate assembled the parts and tested the turn table

Here is the testing video of the turntable mechanism
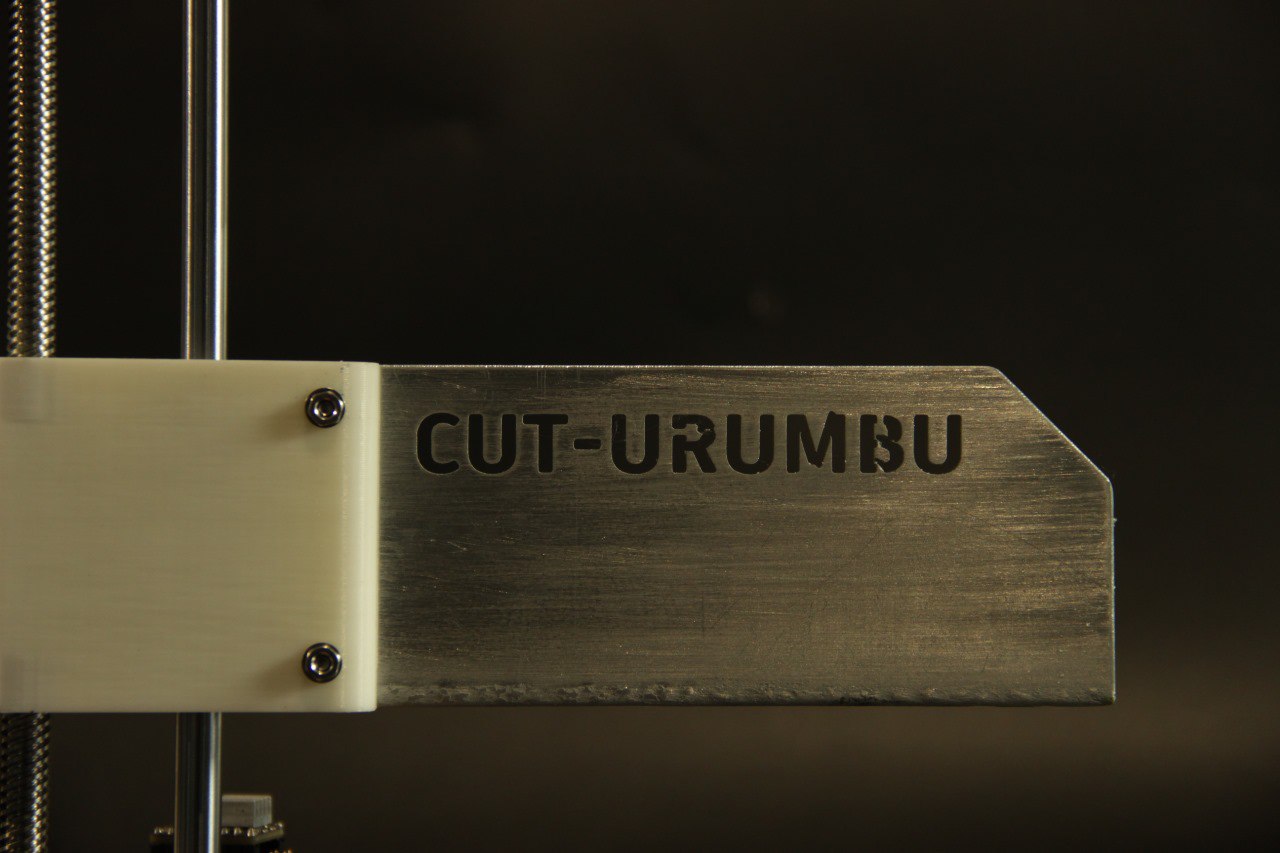
Here is the final picture of the “ cut-urumbu ”

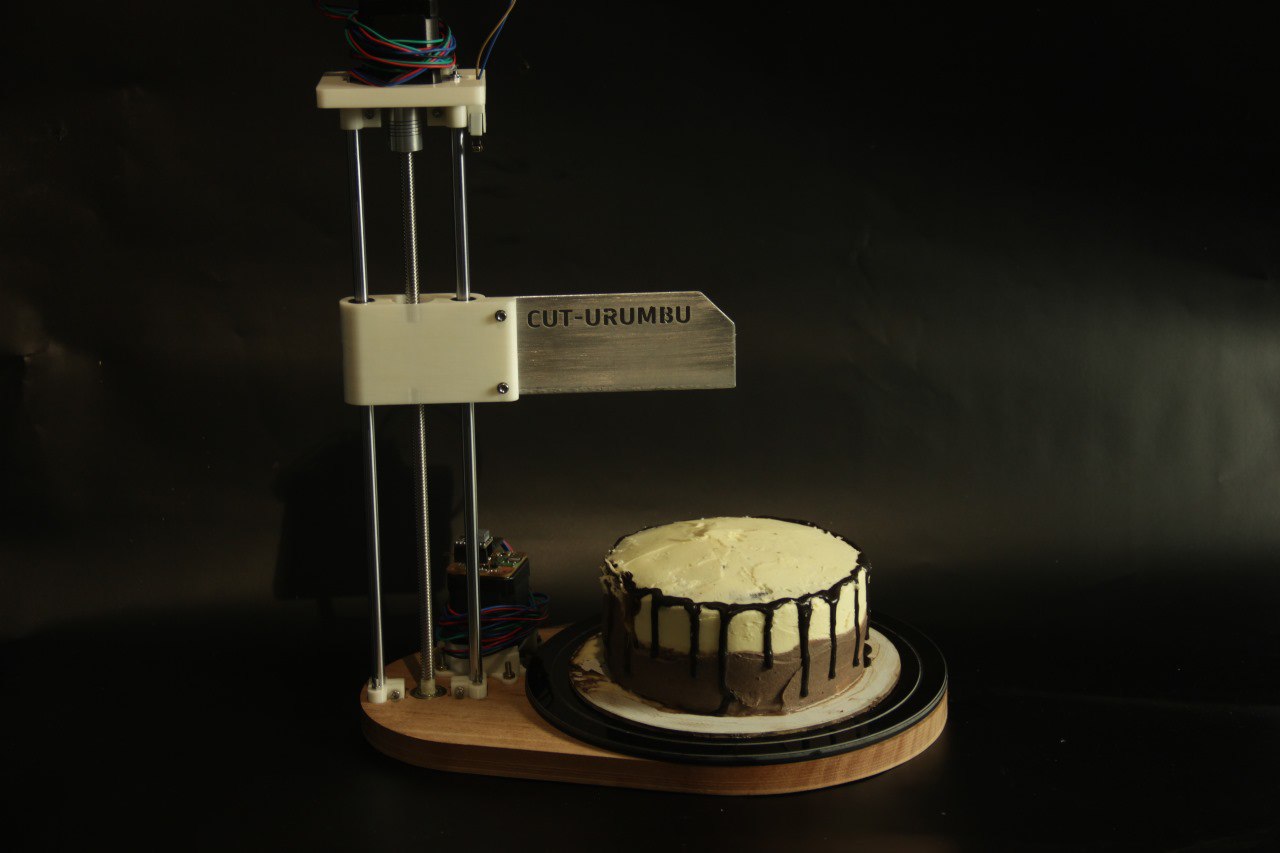
The remaining of the documentation can be viewed on the group assignment page.